
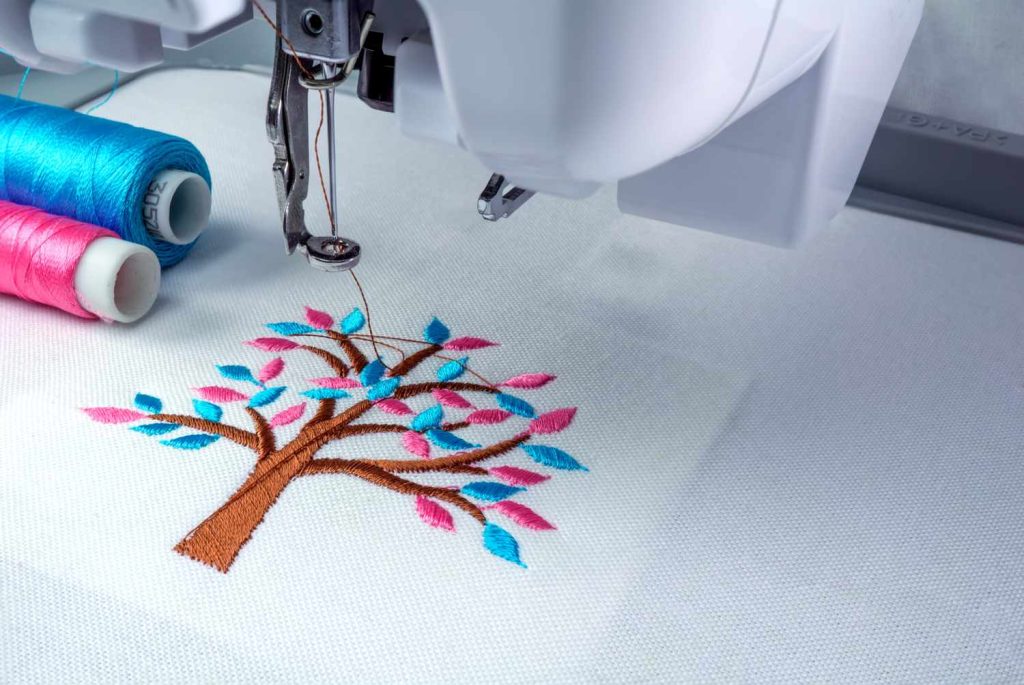


A COMPREHENSIVE GUIDE TO APPLIQUE DIGITIZING
An incredible method for giving clothes character and attractiveness is applique digitizing. Our talented artisans have created a work of art in this place by
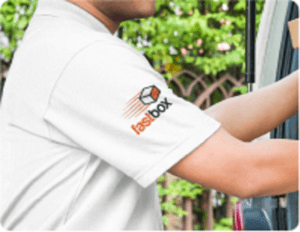
SLEEVE DIGITIZING: ADDING STYLE TO GARMENTS WITH EMBROIDERY
Small details and decorations may go a long way towards turning an average piece of clothing into an extravagant fashion accessory. Sleeve digitizing is an approach

EMBROIDERY TRENDS IN THE USA: WHAT’S HOT RIGHT NOW
In recent years, embroidery has seen a rebirth in popularity in the United States, with novel designs and patterns capturing the attention of both interior

THE BENEFITS OF LOCAL VS. OFFSHORE EMBROIDERY DIGITIZING SERVICES
Intricate patterns must be converted into embroidery machine stitch-ready files using digitizing services. Whether you own an entrepreneur with a small company or a member of a
EMBROIDERY DIGITIZING: FAQS AND COMMON MISTAKES TO AVOID
A more elegant-looking and durable solution for customization is embroidery digitizing. Customizing your clothing, bags, and other material goods with embroidery is a terrific idea. Customers

JACKET BACK DIGITIZING: MAKING A STATEMENT WITH EMBROIDERED JACKETS
Your wardrobe serves as a blank canvas on which you may paint your unique personality, sense of style, and artistic vision. It’s crucial to make